Requirements #
- A working internet connection
- Atleast 5GB storage, depending on the Fortnite season
- Knowledge of your iPhone password
Video Tutorial #
Coming soon...
Getting Started #
This installation method uses old certificates. This method might not work for everyone, but it's worth a shot if the other one doesn't work and you don't have a PC.
To get started, Install the DNS by clicking the text below. Make sure to keep it enabled all time and to not use any VPN, otherwise the method will not work
If you have any Privacy Concern, you can read the DNS Provider Privacy Policy here
When you press on it, Click on "Allow" and then close the popup.
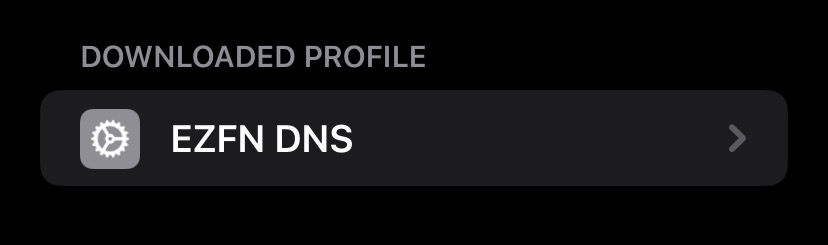
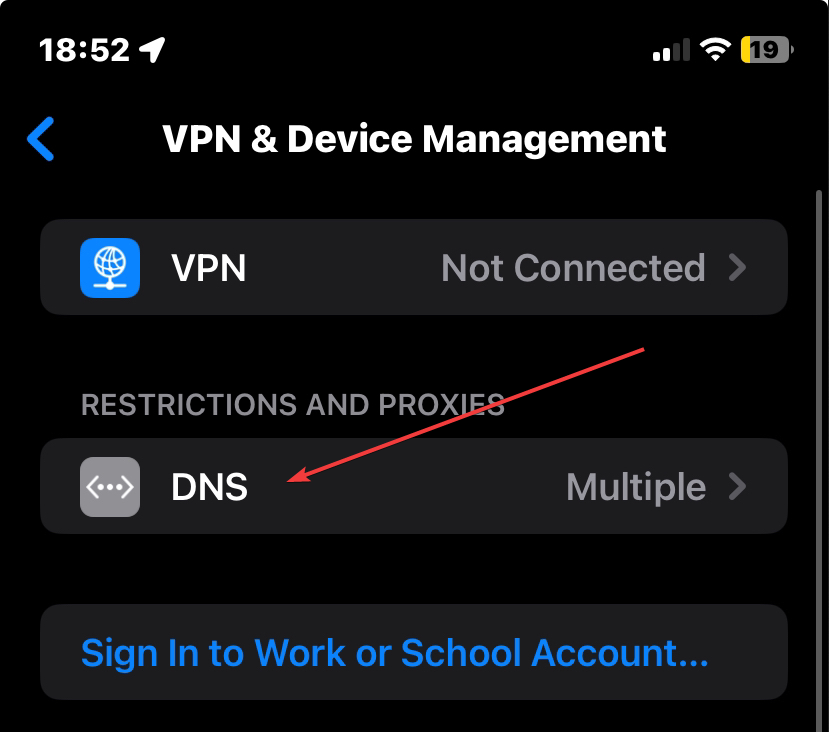
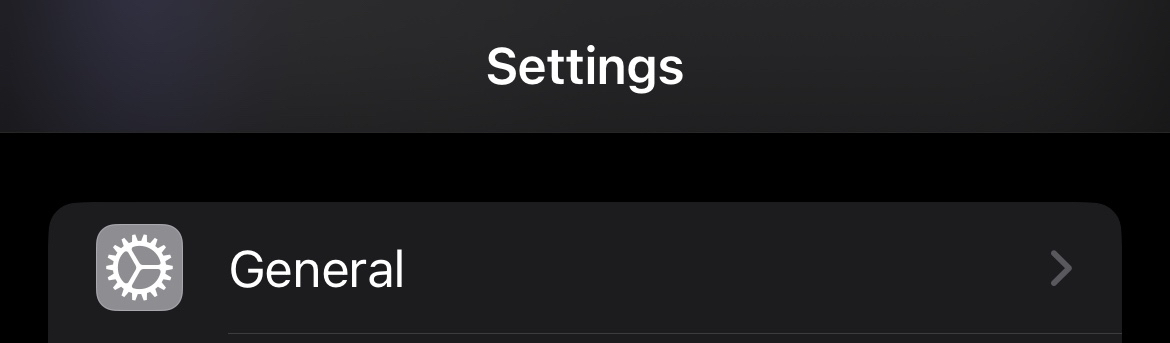
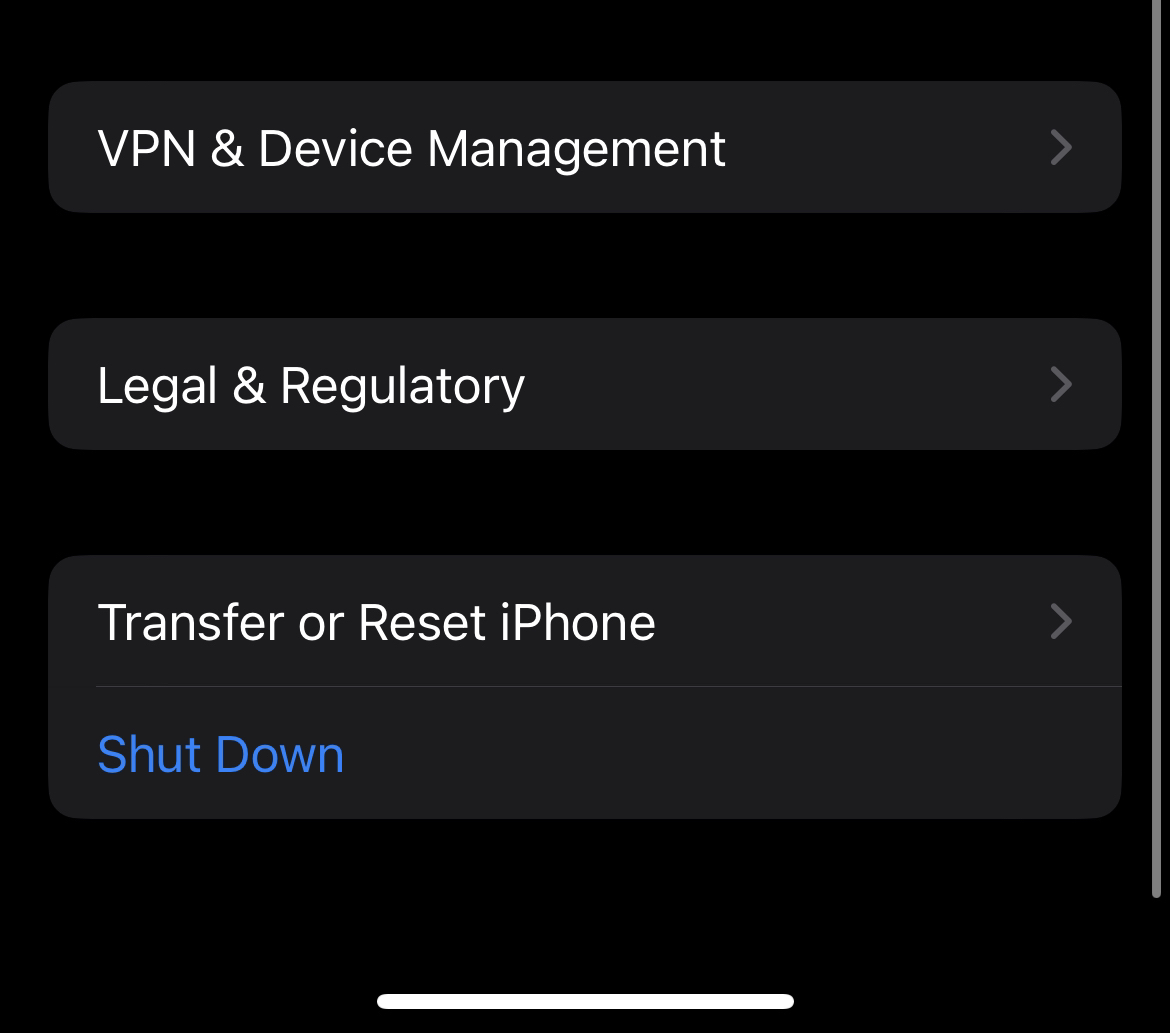
Now go in Settings > General > VPN & Device Management
- Click on "EZFN DNS"
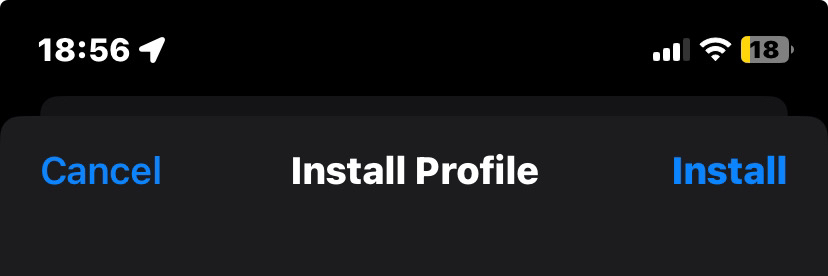
- Click Install at the top 2 times
- Click the Install at the bottom
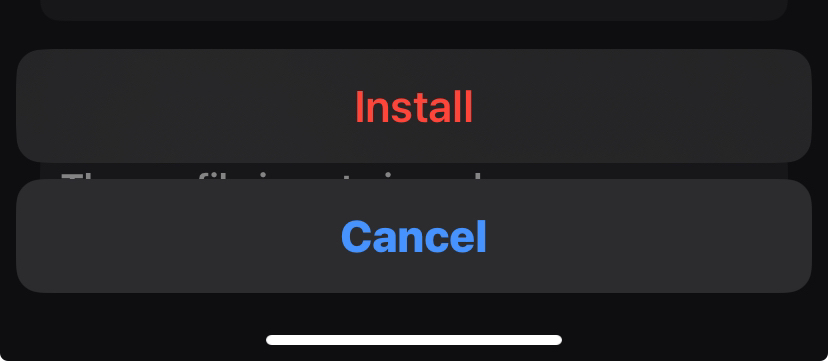
Done! You succesfully Installed EZFN DNS.
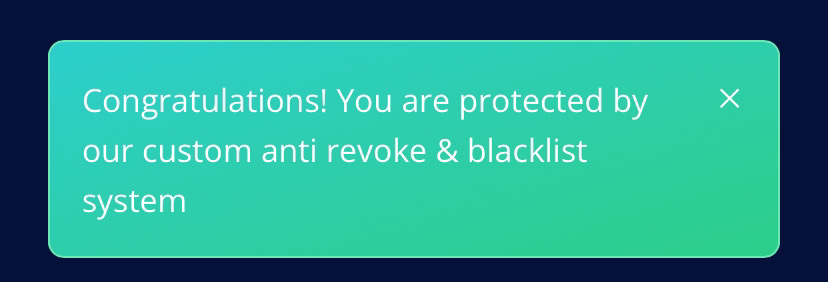
Verifying DNS installation #
To make sure the DNS is installed correctly you can visit our Download Page again
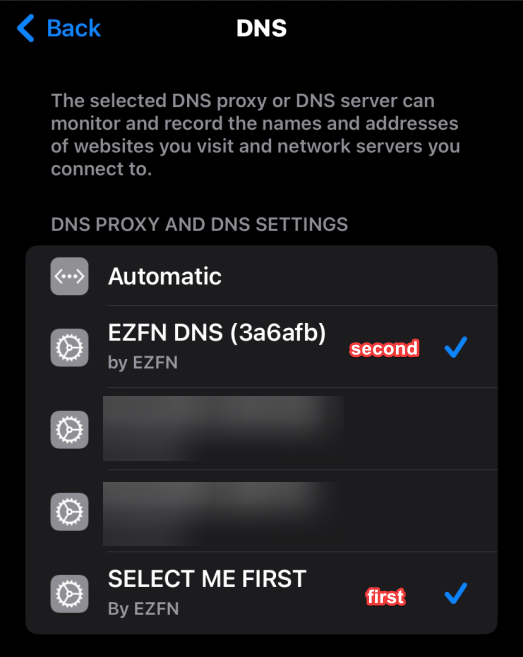
If you are using iOS 17 you might need to restart your Device first and have to manually set the DNS to "SELECT ME FIRST" and then "EZFN DNS" in Settings > General > VPN & Device Management
Getting Started #
To install a Fortnite version you can check out our Download Page
Once you decided which season you want to play, simply click on it.
An "Install" button will popup, click on it. Your phone should ask you if you want to install EZFN, Click "Install"
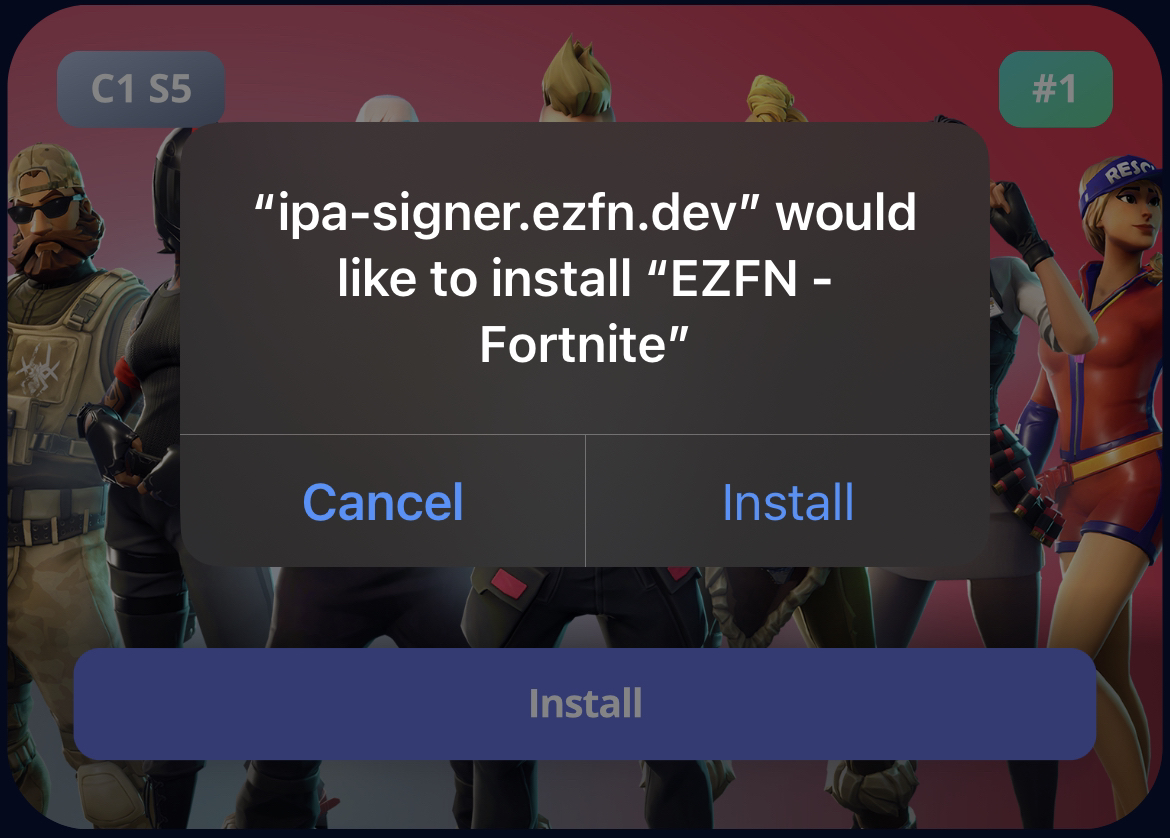
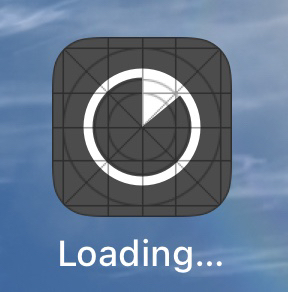
After a few moments you should see a new app popup on your app Library/Homescreen, similar to when you install a app directly from the app store.
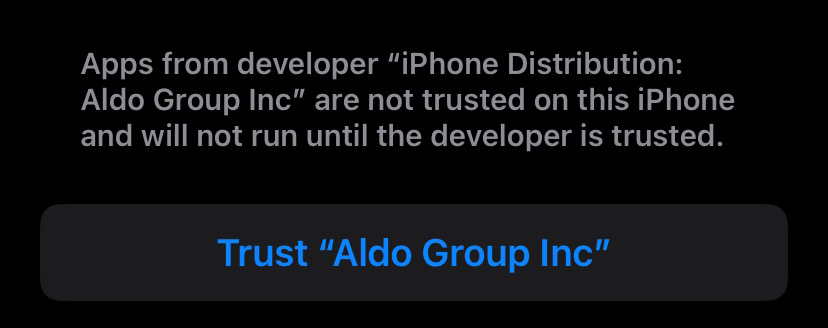
If everythig worked you should get a popup that tells you that the Developer is untrusted. If otherwise, please go to #Issues
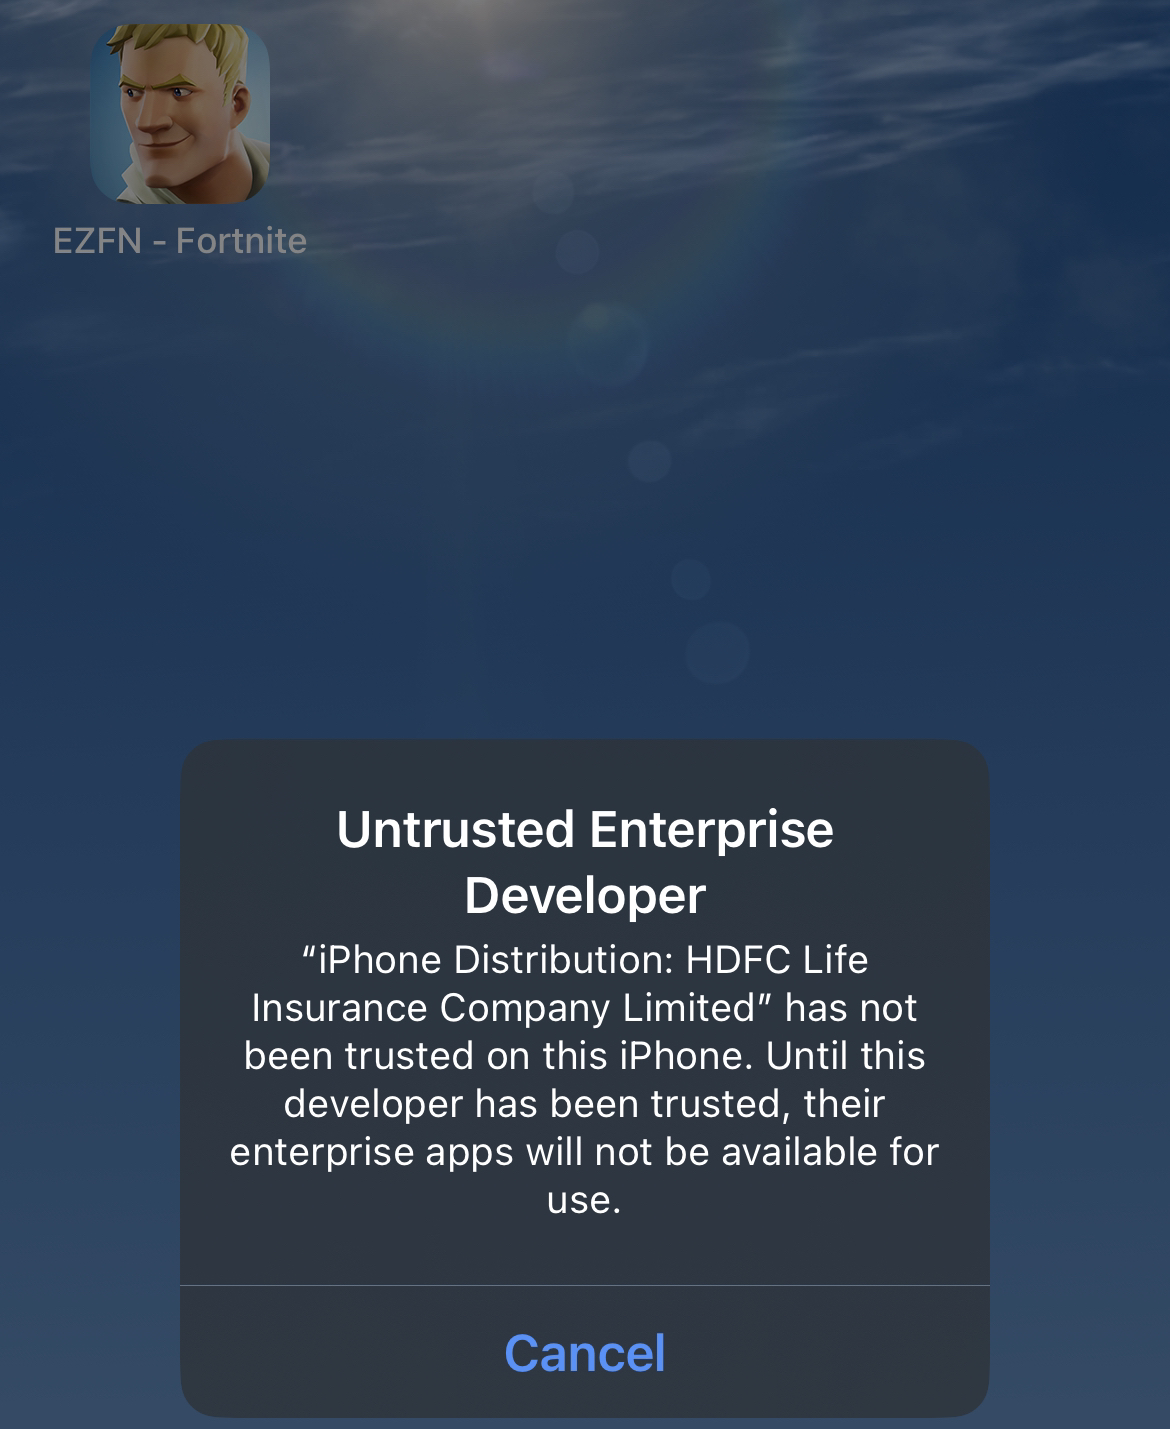
Trusting the Developer #
For security reasons if you want to install an app from outside the AppStore you have to manually trust the developer of the App. You can do this in your iOS Settings.
Open your iOS Settings > General > VPN & Device Management
Now click on "VPN & Device Management"
Now you can see an "ENTERPRISE APPS" Section ( The Enterprise app name changes with time )
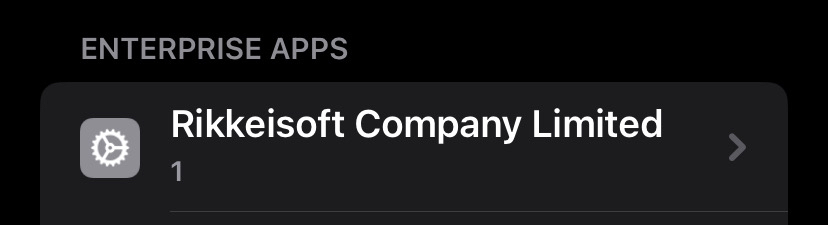
Click on the Enterprise Name and press "Trust "[DEVELOPER NAME]""
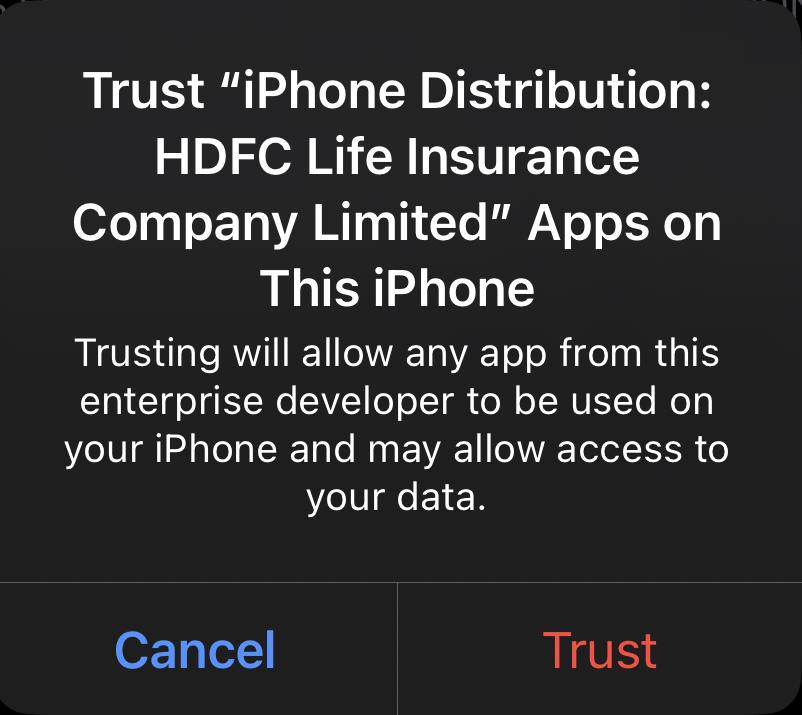
On the popup, Click "Trust"
If everything worked it should now look like this
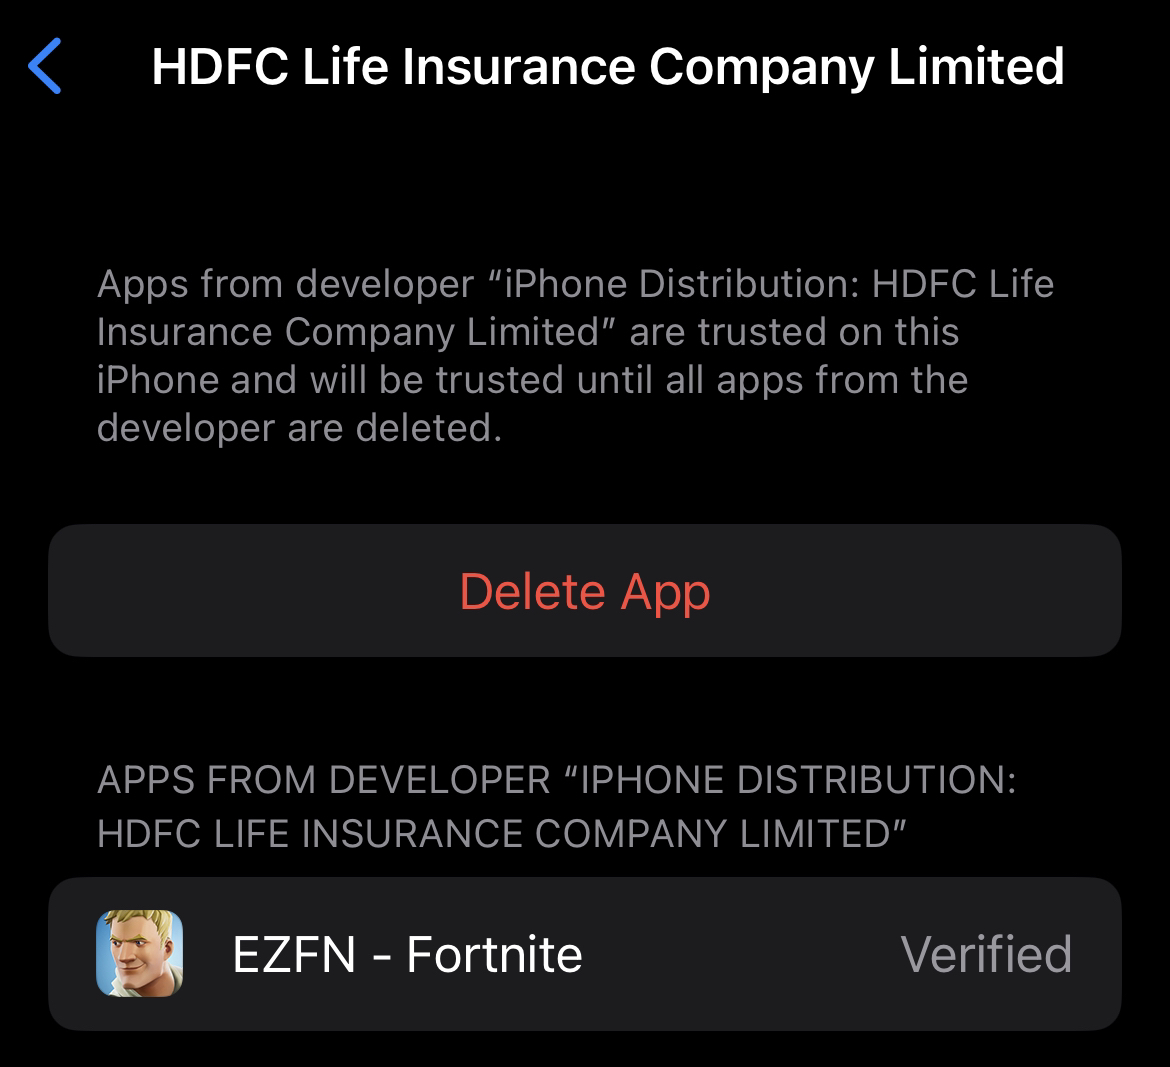
All done! Now you can play EZFN.
Follow Mobile Login to know how to start the game!
Notes #
While the DNS is enabled some features might not work. If you are expericening any issues you can simply turn it off but the EZFN app won't work with it anymore.
FAQ #
- Can I disable the DNS after installing everything?
No, you can't. This guide relies completely on it since these certificates are old and technically expired.
Issues #
- Unable to install "EZFN"
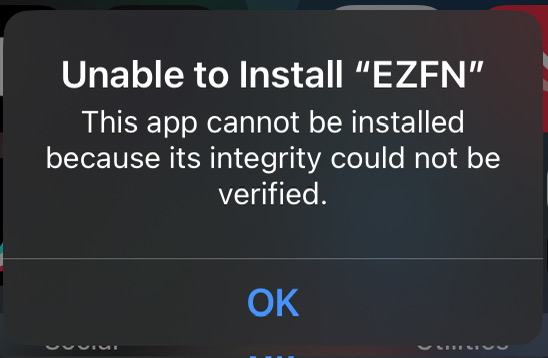
This happens because you do not have the DNS enabled or already used this certificate in the past.If you have the DNS on, you most likely already used that certificate. Please choose another one from the list. If no Download work, you have to use the iOS with PC method.